Many homeowners like to try their hand at DIY from time to time, but some clients can overreach their skillset when attempting renovations like loft conversions . From our first hand experience we have seen some nightmare loft conversions gone wrong that we have had to correct.

If not done properly however, Do It Yourself  can cause lasting and expensive damage to a property, leaving the owner wishing they’d called in a professional company to do the job instead, and paying out even more to get it fixed Complete loft conversions guarantee none of the following will happen on your build.

1. Loft conversion

Can costs up to £35,000 to fix, attempted by 5% of homeowners

Greg Nelson form CLC said : “No work should be done on a loft conversion without confirming that safety regulations are in place and that the room will be legal, as this can waste a huge amount of time and money and result in you having to have the whole thing redone. You may also cause more damage than good, especially if you damage the roof or put a foot through the rafters.”

Assess the Situation: Take stock of the problems you’re facing. Is it related to structural integrity, electrical wiring, plumbing, or something else? Understanding the scope of the issues is the first step in finding solutions.

2. Knocking down a wall/part of a wall

Costs up to £25,000 to fix, attempted by 10% of homeowners

Greg Nelson from CLC said : “If you knock down a wall and don’t know exactly what you’re doing, you run the risk of your property suffering from subsidence. If you try to knock through a supporting wall, you also run the risk of your house collapsing, and losing everything. You should never knock a wall through without having it examined first to ensure there will be no other damage to the rest of the property.”

Consult with Professionals: Depending on the nature of the problems, you may need to consult with different professionals such as structural engineers, architects, builders, plumbers, and electricians. They can help diagnose the issues and propose solutions.

3. Replacing a kitchen

Costs up to £15,000 to fix, attempted by 8% of homeowners

Greg Nelson from CLC said :“Installing a new kitchen can cost around £5,000 depending on the size and materials used. If you take this into your own hands and damage the worktops, cabinets, and walls while doing so, you may need to replace these. Aside from added costs for materials, you’ll also need to factor in the labour costs, which could as much as double the price of your new kitchen.”

Review Building Regulations and Planning Permission: Ensure that your loft conversion complies with building regulations and planning permission requirements. If the problems stem from non-compliance, you may need to make modifications to bring the conversion up to standard.

4. Replacing a bathroom

Costs up to £10,000 to fix, attempted by 7% of homeowners

Greg Nelson from CLC said : “This can cost you anywhere between £3,000-£10,000 depending on the damage that you do. If you have to replace the materials that you bought for the job or cause damage to the plumbing and electrics in the bathroom, this will drive the cost up.”

Jonathan Larkin, 26 from Norwich, said: “We tried fitting a new bathroom a year or so ago, and thought we’d done a good job. That was until we realised that the sealant we had borrowed from my dad had been out of date and we had leaks all over the bathroom wherever we used it.”

5. Installing cabinets

Costs up to £4,000 to fix, attempted by 18% of homeowners

Greg Nelson from CLC said : “You may cause damage to both the cabinet and the wall that you’re attaching it to, meaning you will need to replace the cabinet, fix the wall, and then pay labour costs for this to be refitted. Depending on the amount of cabinets, materials used and size of them, this can cost you around £4,000.”

6. Laying floors

Costs up to £3,500 to fix, attempted by 18% of homeowners

Greg Nelson from CLC said :“This will depend on the size of the room and the material that you’ve chosen for the flooring. If you lay incorrectly you can damage the material, meaning you must pay to replace it. To do this for the whole floor, this can cost you anything from £1,500-£3,500.”

Prioritize Safety: If there are safety concerns such as structural instability or electrical hazards, address them immediately. Safety should always be the top priority.

7. Installing a light fixture

Costs up to £3,000 to fix, attempted by 28% of homeowners

Greg Nelson from CLC said : “Replacing bad electrics could just be the cost of replacing the fitting, but it could also involve having to fix the wiring completely. Electrical work can also be dangerous if you don’t know what you’re doing and is a health risk. If this goes dramatically wrong, rewiring a 2-bed house can cost around £3,000 and 5-8 days”

Take Preventive Measures: Once the issues are resolved, take preventive measures to avoid similar problems in the future. This may involve regular maintenance, periodic inspections, and hiring reputable professionals for any future renovations or construction projects.

8. Running power into an adjacent structure

Costs up to £3,000 to fix, attempted by 11% of homeowners

Greg Nelson from CLC said “If you cause damage to the wiring in your house doing this, you could need the whole house rewired, which can cost around £3,000. It is also very dangerous if not done correctly and could result in a fire or explosion.”

Document the Issues: Keep thorough documentation of the problems you’re facing, including photographs, written descriptions, and any correspondence with contractors or authorities. This documentation may be valuable if you need to seek legal recourse or insurance claims.

9. Replacing a fuse box

Costs up to £3,000 to fix, attempted by 10% of homeowners

Greg Nelson from CLC said:“This is extremely dangerous if you don’t know what you’re doing. You could cause damage to the wiring in your house, which can cost over £3000 to fix, along with the risk of fire or explosion. Any work with electricity should only be carried out by a professional.”

Obtain Multiple Quotes: If you need to hire professionals to fix the issues, obtain multiple quotes to ensure you’re getting a fair price. Be wary of significantly low quotes, as they may indicate subpar workmanship or the use of inferior materials.

10. Installing a shower

Costs up to £3,000 to fix, attempted by 8% of homeowners

Greg Nelson from CLC said“You may cause damage to the water pipe, the shower itself and the tiling in the bathroom, which can cost you up to £3,000 to fully repair and replace. If your shower is electric, it can also be very dangerous.”

Consider Legal Options: If the issues are the result of negligence or malpractice by contractors or builders, you may have legal recourse to seek compensation for damages. Consult with a legal expert specializing in construction law to explore your options.

Remember that addressing a loft conversion nightmare can be stressful and time-consuming, but with careful planning and the right professional assistance, you can mitigate the issues and turn your nightmare into a success story.

If you wish for a no obligation quote to get your loft conversion done right first time Complete Loft Conversions are your first port of call for loft conversions timber framed extensions and garage conversions in the Ipswich Suffolk area

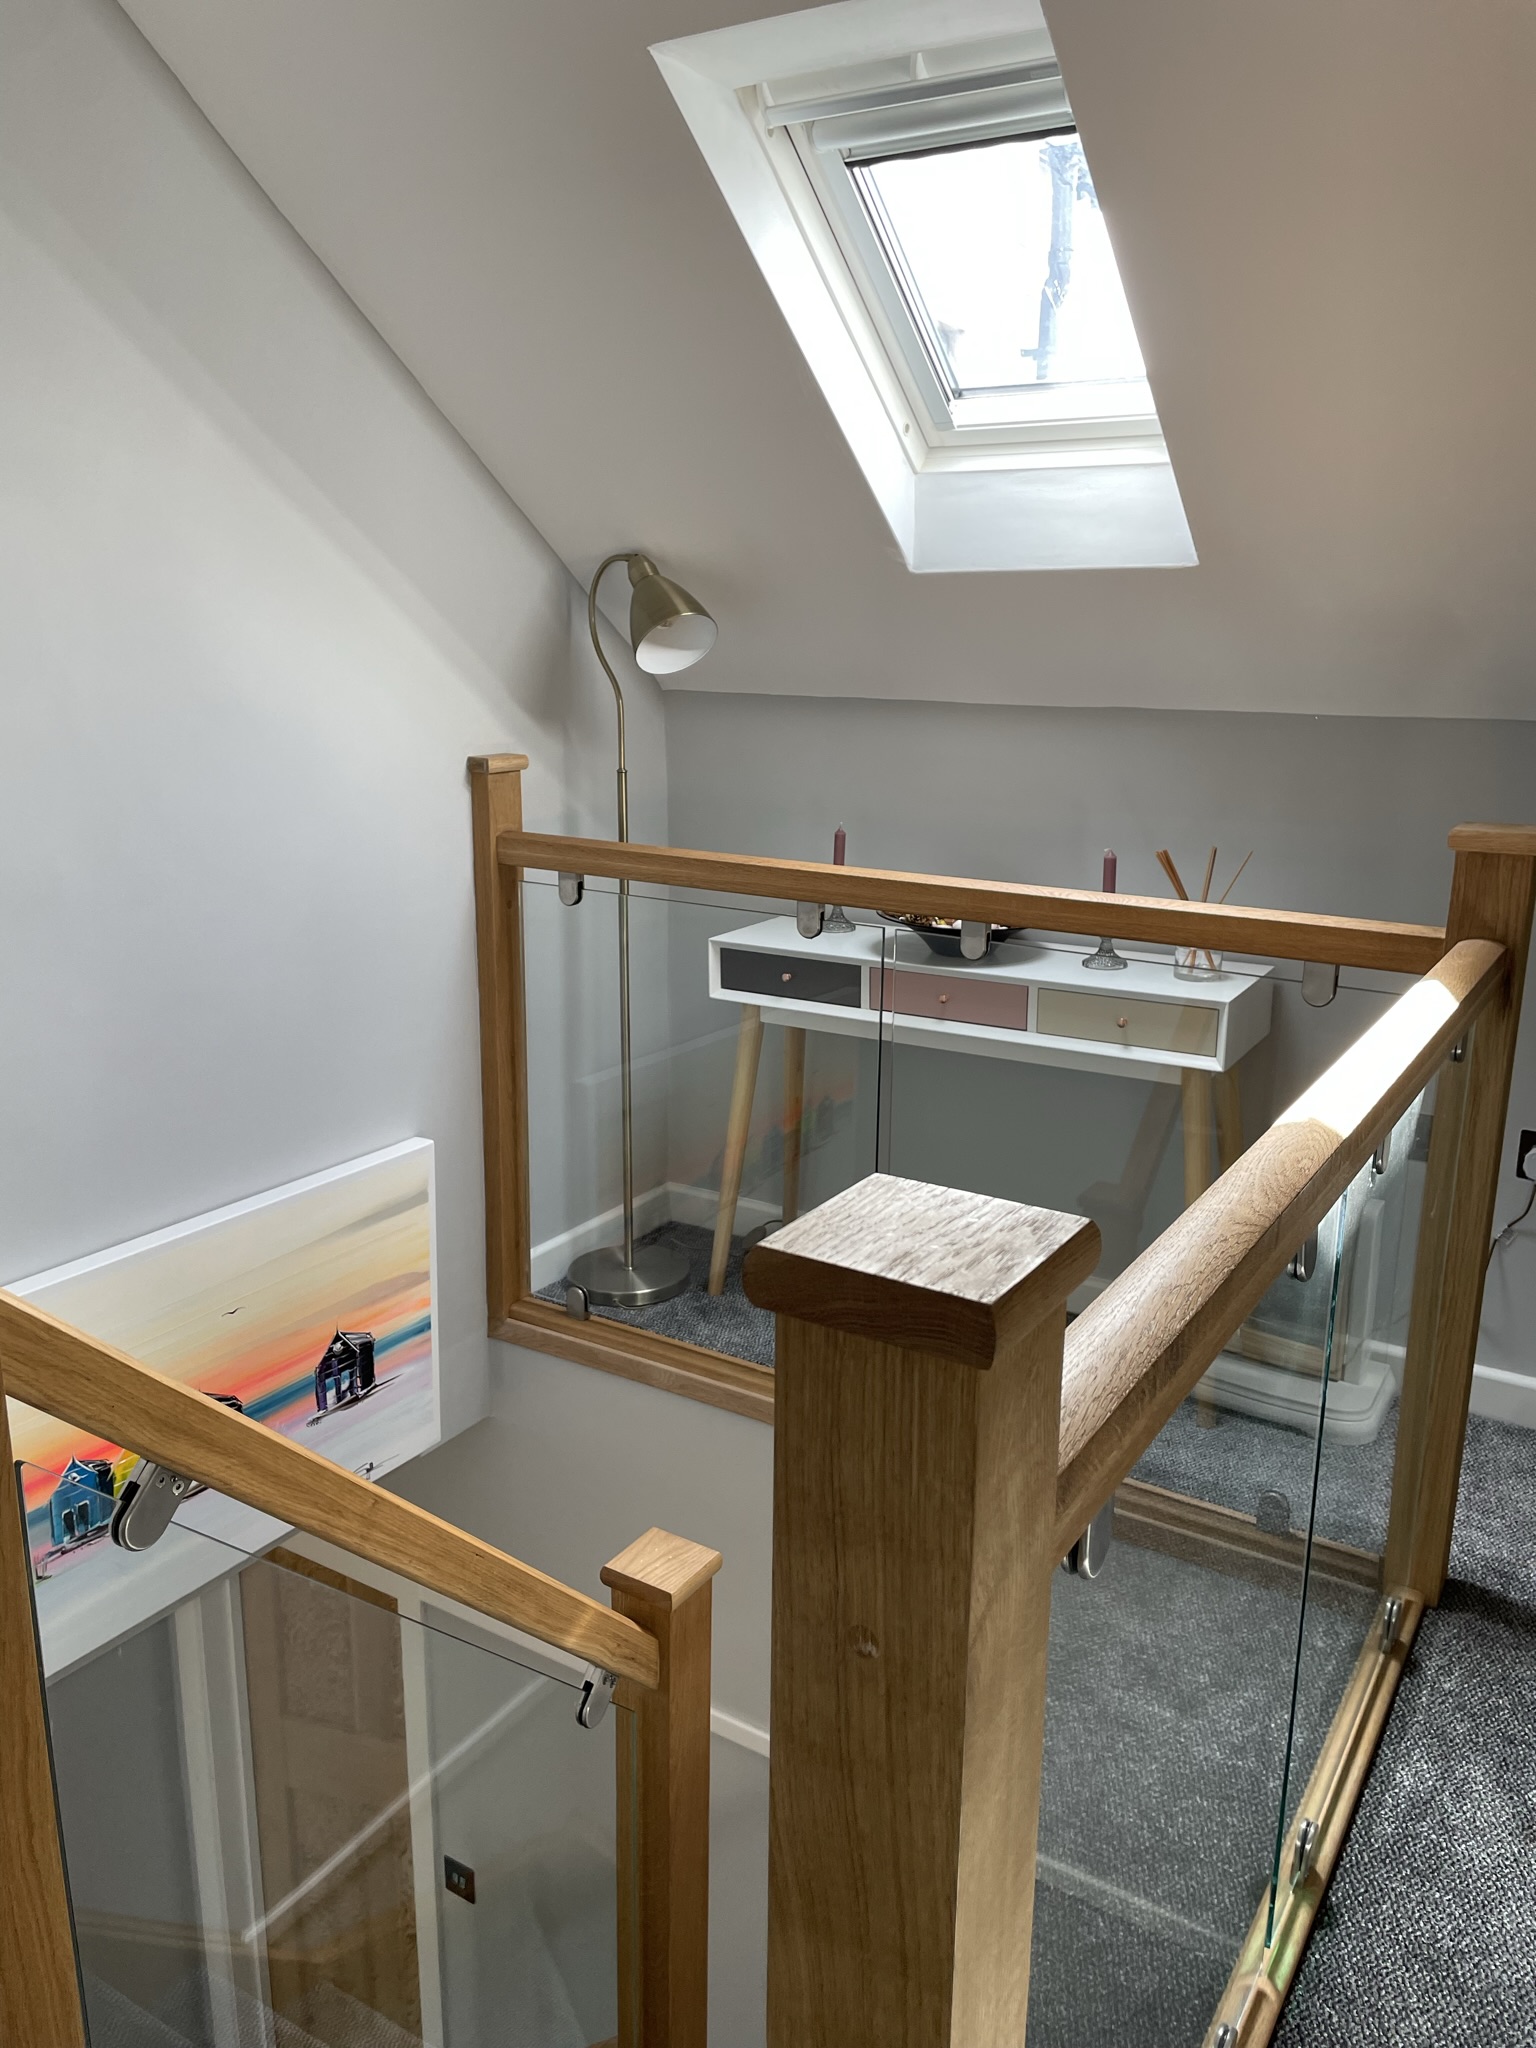
CLC have been carrying out many extensions and loft conversions though 2019, to much to put on the site so we will just focus on Wind-rush Rd where we were commissioned to carry out a loft conversions for a lovely couple. The conversion consisted of steel beams sitting on the outer walls to take the new joisted floor, ashlar walls and rest of the conversion.


Beams installed with ashlar walls

Above we can see the joisting installed with ashlar walls with the insulation being placed within the floor we also had to install new 140mm rafters to take away the existing fink trusses.


Celotex installed
Celotex installed

Here we can see the celotex installed with lighting ring installed we can slo see the flue for the boiler which needs to be boxed in we can also see the velux installed.

Stairs being installed

Here we can see the installation of the stiar case which was particularly tight this is an open tread staircase we can also see the ashlar walls with structural ply installed.

Stairs installed
Stairs installed

Here we can see the stairs in the opening and the purlin to take the above rafters.

Landing being built
Landing being built

Here we can see the landing being built.

Open tread stairs installed

Here we can see the open tread stairs installed and protected

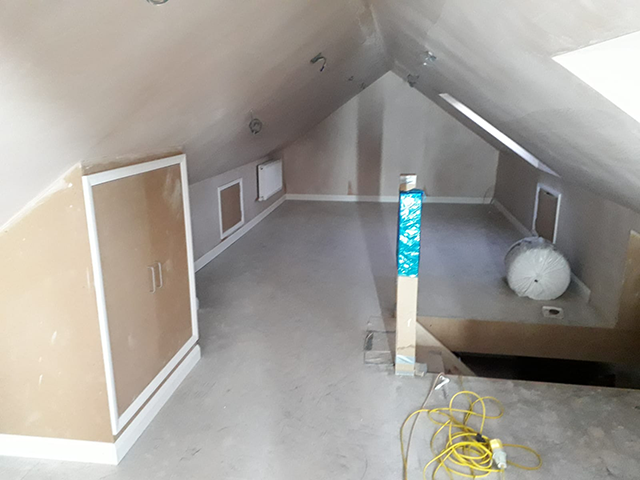
Loft plastered ready for painting

Here we can see the loft ready for plastering

Cupboards built to gain access to flue and storage

Here we can see the cupboards built to gain access to the storage space and flue.

We have been busy as ever, but managed to fit in this lovely letter porch extension with external cladding to either side, this modernised the whole look of this 1960s detached house.

We were commissioned to build the porch bay extension, but ended up changing the construction method to timber frame from block and brick for a few reasons which included.


  • Quicker to erect
  • More installation could be installed
  • Services would be easier to install
  • Better grounding for the triple glazed windows
  • Simplicity of build

We started by pouring the foundations but these had to be poured into a DMP because of nearby tree roots.

NOTE: If you are thinking of building and extension please be aware that any leylandii trees may need to be removed if they are within ten meters of you new build.

Then as we can see from the image below we build a cavity wall with 100mm thermalites up to damp course.

Cavity wall on foundation

We then attached the damp course to the underside of the 180mm cls and fixed with sleeved fixings to create our sole plate.

Sole plate for timber frame

As we can see from the image above all the construction took place without the need to expose the inside of the building unnecessarily, we also used 180mm timber so we could reach the U values with 180mm celotex.

We then constructed the timber frame with is clad with sterling board and breathable membrane this is for the windows to sit on as we can see by the image below.

Foundation brickwork and timber frame

We then had to wait for the windows to be built and fitted, then we could continue with the build by erecting the roof which sits on a plate at the top and a 75 mm cls on the window frame.

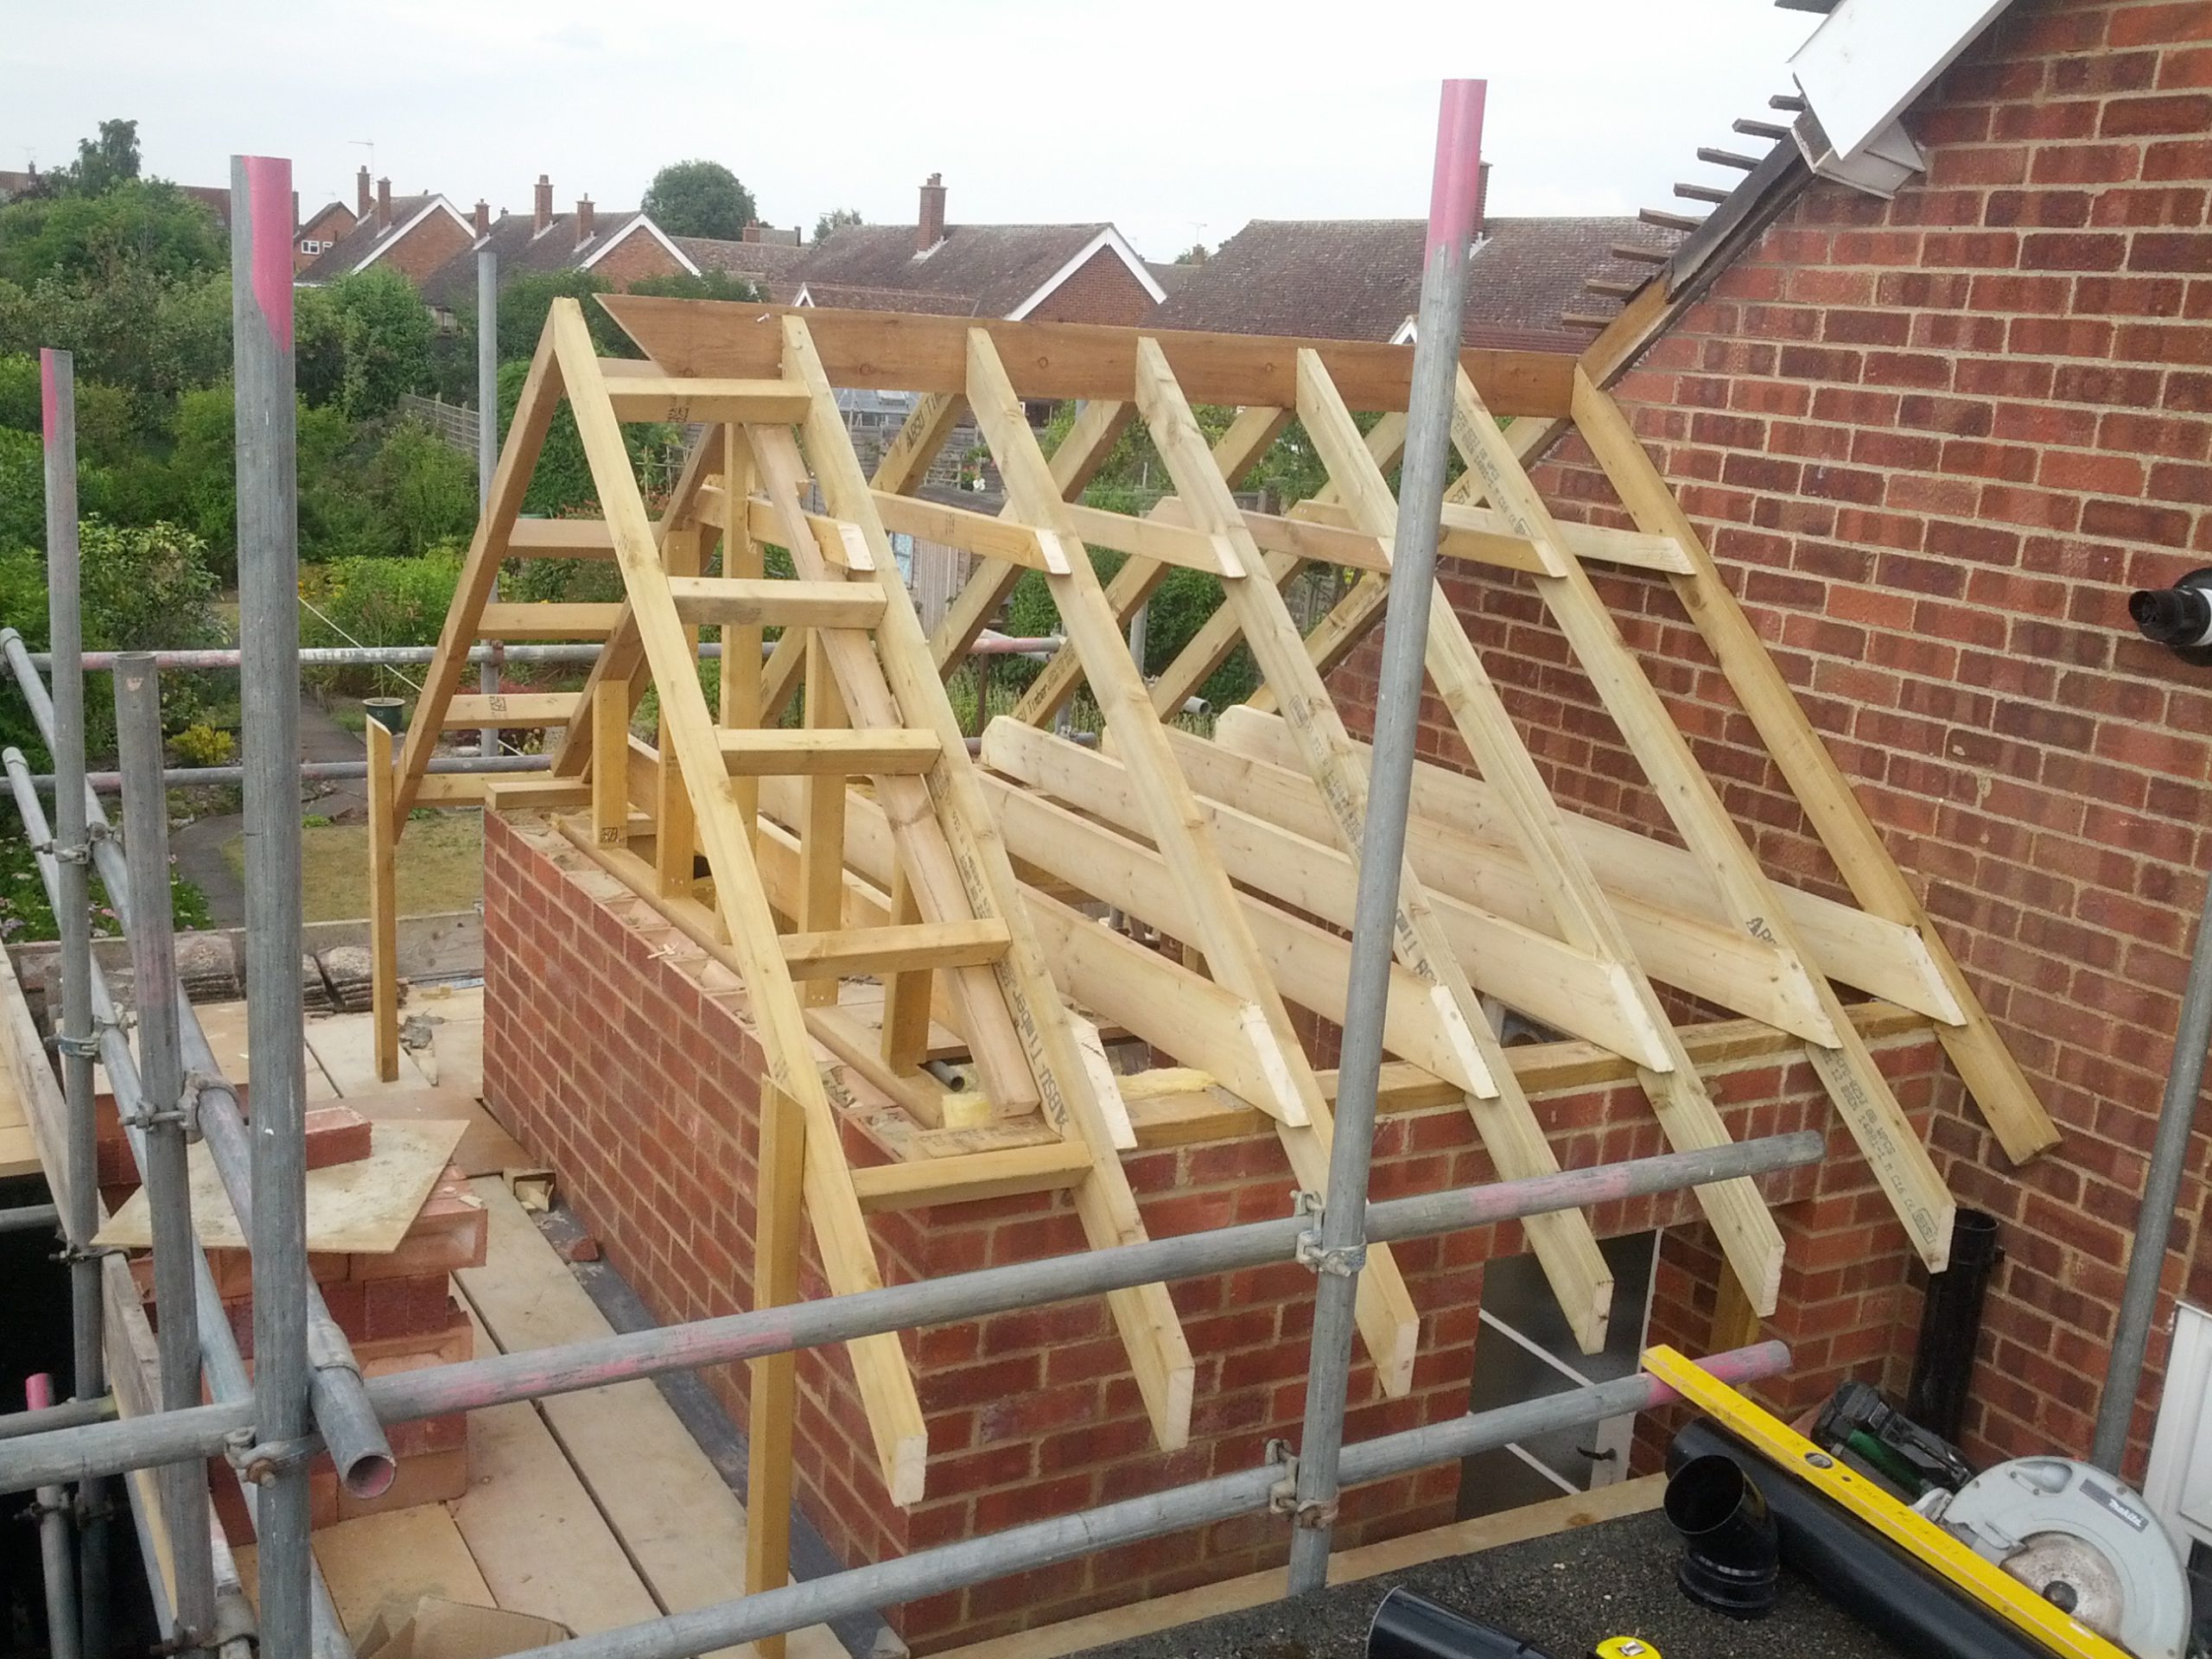
Hand cut double hipped roof

We then have the basic construction of the roof which was then membraned and tiled we also clad the timber frame and the sides  of the extension with hardiplank could sail cloth for the modern look, we also added a cant brick plinth with lead flashing which was not on the drawing as this looks better.

Completed bay with cladding

The existing windows inside were removed and the dwarf wall cut away to make the new bay inside the main front room.

We can now see the finished article apart from some tidying up and below is the inside where we were asked to install a brushed oak hardwood floor.

Finished inside with oak floor

This project came in on time and with budget although, as always we were asked to do lots of extra work which was not on the drawing which we are always happy to do.


Haven’t posted for a while as been extremely busy with a large flat roof dormer on a Victorian detached property in Foxhall Road Ipswich for an extremely pleasant client and there family below we can see the front of property.

We were commissioned to convert the current three bedroom home, into a four bed-roomed three storey loft conversion with stunning views over Ipswich.

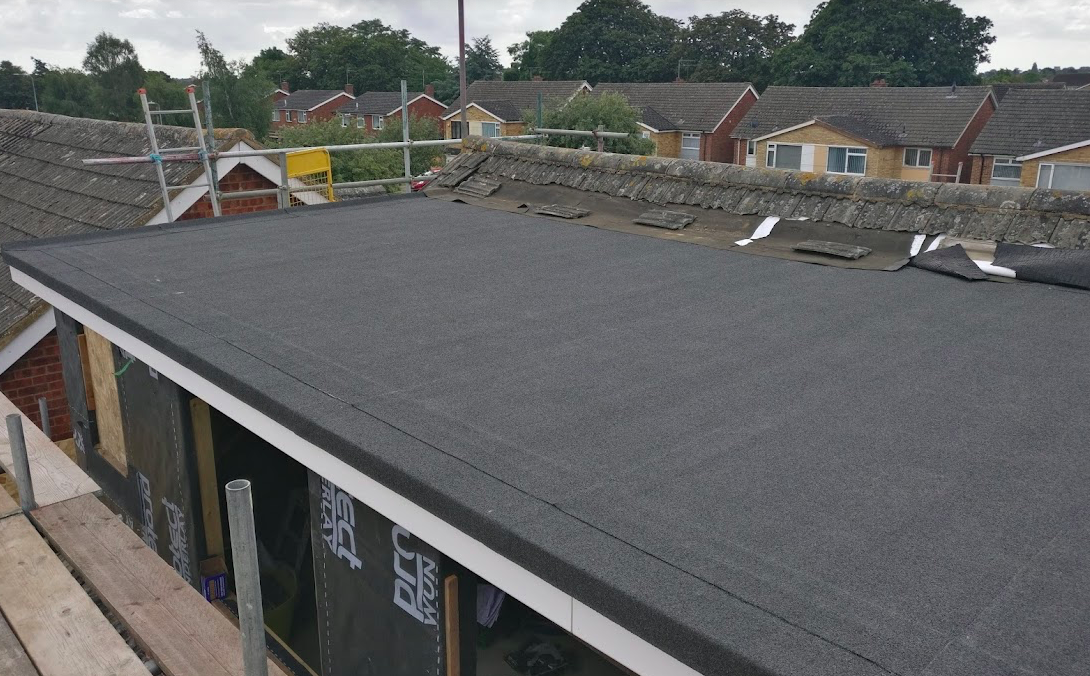
We have currently installed the new floor stairs, steel flat roof and clad the cheeks of the dormers with finer cent slate which can be vertically hung.


.Double wind stairs installed


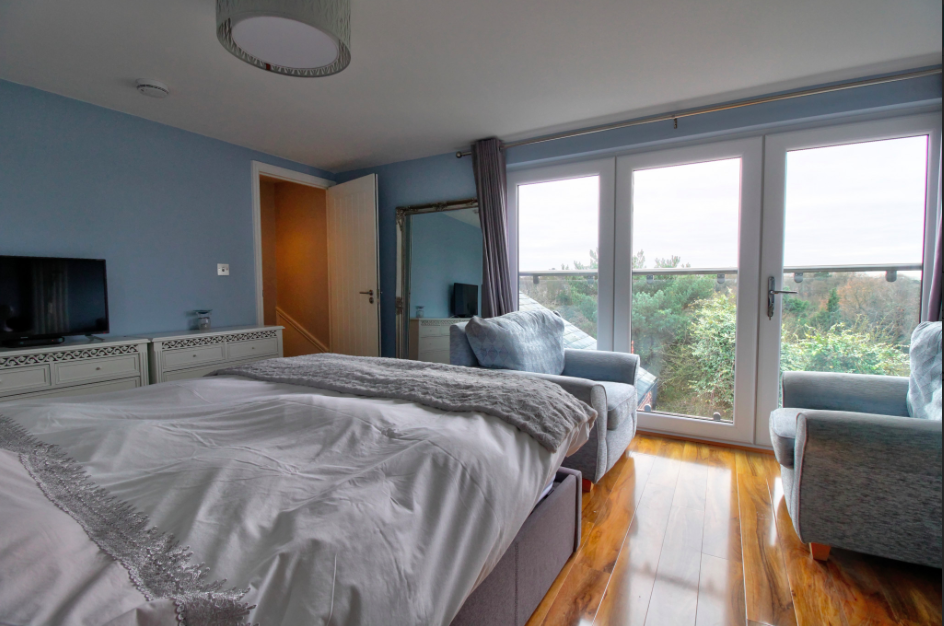
The loft conversion will incompass a large bedroom with good sized en-suite and a custom built walk in wardrobe over 30 square meters of conversion with side and fold rear doors to a stylish glass Juliet balcony we have also installed three velux and reproofed the entire front of the property with the existing welsh slate.


As we can see from the picture the whole roof has been stripped of slate for the rear dormer and from the front to be  membraned as there was no felt

Flat-dormer-construction

Below we can see the main room of the conversion from the bifold door postion

We have also insulated the flat cold roof with 160mm celotex and the exterior walls with 100mm and the internal walls with 70mm.

timber-floor-installed


Complete loft conversions Ipswich have completed another loft conversion this one was a large 5 meter dormer construction with one roof window and fully kitted out en-suite.

Below we can see the glulams being installed and the ashler walls erected before taking out the finik trusses.

glulams-installed
glulams-installed

Here we can see the next stage of construction the joists between the gluelams and the chipboard floor being installed.

timber-floor-installed

After the timber floor is installed we installed the stair case to gain complete access to the loft.

Fitting-of-stair-case

Once the stair case has been fitted the the internal walls can be erected.

Internal-walls-erected

Once the internal work is completed we erect the scaffold and break through the roof and create the flat dormer as seen below.

Building-flat-dormer

We then build the dormer and dormer cheeks and put the facias and soft on then we also cald the top deck and felt the roof so we are water tight.

Flat-dormer-construction

As we can see below the dormer is built and water tight but not clad we need to put in the windows which and take a month on order before doing the cladding.

Dormer-built-but-not-clad

We also needed to put in a velux and ventilation for the cold roof above the dormer to keep the air flowing around the roof space.

velux-installed
velux-installed

We then set about installing the insulation which was 70mm celotex fitted tightly between the joists and rafters and taped with foil tape to stop cold spots.

Foil-backed-insulation-installed

We also celotexed the celing and around the dormer cheeks.

Celotex-around-dormer

We then put space blanket equivalent to 200mm celotex to get the U values for the build and the 25mm battens over to take the plasterboard.

Space-blanket-over-25mm-battens-for-vapour-barrier-and-more-insulation

Now with all the plumbing and electrics tested and checked the whole loft space is plasterboarded and plastered.

Loft-conversion-plastered

Here we can see the window board radiator and loft nearly complete

Dormer-and-window-plastered

We also fitted the bathroom to the clients specifications which included walk in shower,mermaid board,sink and toilet.

toilet
Armitage Shanks toilet installed

Complete loft conversions carry out the complete conversion to the last detail

shower
Shower installed

Here we can see the loft conversion with the scaffold down and all of the cladding guttering and lead work complete.

Completed-loft-conversion


Havent posted for a while but thought I would post up a couple of pictures of recent loft conversions the pictures below are of the I joists being installed I joists are a structural beam which negate the need for steels and can be installed by removing the first four rows of tiles and then being slid in to sit on the existing plate, also not the JES (joist end support) to give the joist riggidity when cut to fit in the eaves.

I-joist
I-joist

We can also see the gluelams before installation, gluelams are a structurally graded beam which come in standard and custom sizes the beauty of gluelams is they do the same job as a steel but are lighter stronger and easier to install and fix to and can also be cut on site to requirements.

glulams before install

With beams of this size and nature there is an issue with getting them up to the second floor so we usually hire in a crane and a banks man to help our team with the lifting as we can see below.

Beam-installation-with-crane

As we can see the creation of a new floor above the existing building has begun  once the beams are in place the next of the work can continue the creation of the stair well with gluelams and hangers connecting the old and existing joists to support them around the stair well and the creation of the ashler walls and the ceiling ties to support the new structure before the old fink trusses can be removed as shown below.


Before-fink-trusses-removedBefore-fink-trusses-removed
Before-fink-trusses-removed


after trusses removed
After trusses removed

So the existing structure is removed the weight is transferred onto the ashler walls which are the small walls in the corner which then transfers the weight onto the new I joists and the gluelams onto the wall plate of the existing building so what next we need light.

dormer under construction
Dormer under construction

As we can see we now need to create natural light by adding dormers by supporting the trusses either side with extra timbers for strength and remove the existing tiles battens and felt carefully before building the pitched roof dormer in this case there will be three so more to come when they are buit ok.


Complete loft conversions have carried out many loft conversions in and around Suffolk and are please to offer a no obligation site visit to anyone thinking about extending into there loft or to the side of there property we offer a full and compressive service form initial visit to completing your loft conversion.

We keep getting asked about permitted development and planning on loft conversions so I thought I would write a small blog about the stages of your loft conversion and the procedures needed to be sure that all the relevant authorities are consulted and informed before work begins.

Here is a step by step guide to your conversion and the time scales it may take form conception to completion.

  1. Our initial site visit where you can meet me Gregory Nelson to discuss the options of what you could do within your loft and how to build within your loft (I joist, steels, attic trusses, telebeam extending steel members and stairs).
  2. I then give you a estimate assuming your have no plans in place to give you an idea of the cost of the build and the professional fees in writing.
  3. If you decide to use complete loft conversions for your project I will then instruct my architect as your agent to commission drawings to be submitted to your local planning office for approval.
  4. You may not need planning if you are not altering the pitch of the roof and just installing Velux windows and may only need to submit a building notice to read more about building notice please read here but you will still need building control to make sure that the building work, insulation and electrics are carried out in the correct manner.
  5. Once your local planning office have agreed that you are permitted to carry out the work allowing for party wall agreements and any other possible legal aspects work can commence.
  6. Usually we will have an allocated time frame for your build and will provide a full schedule of works before work commences once this has been agreed.
  7. We then proceed to order the scaffold for your build to commence and start altering the structure of your roof to accept the new roof members or steels.
  8. Usually we need payments in this order. Archiects fee, and building control -then four payments at different stages of the build the first being when the roof members are in place and the floor is down the second when the stairs are in the third when the velux and dormers are build and weather tight and the last payment  when the build is complete less %5 for retention.

I hope this guide on how we usually operate when carrying out loft conversions helps some our new customers what is expected when they consider building a loft conversion.

We also hope that prospective customers understand that the planning process is sometimes slow but if you are just using a building notice this can significantly speed up the process but each build is individual and is dealt with on a case by case basis.


Call Now Button