We have been busy as ever, but managed to fit in this lovely letter porch extension with external cladding to either side, this modernised the whole look of this 1960s detached house.

We were commissioned to build the porch bay extension, but ended up changing the construction method to timber frame from block and brick for a few reasons which included.


  • Quicker to erect
  • More installation could be installed
  • Services would be easier to install
  • Better grounding for the triple glazed windows
  • Simplicity of build

We started by pouring the foundations but these had to be poured into a DMP because of nearby tree roots.

NOTE: If you are thinking of building and extension please be aware that any leylandii trees may need to be removed if they are within ten meters of you new build.

Then as we can see from the image below we build a cavity wall with 100mm thermalites up to damp course.

Cavity wall on foundation

We then attached the damp course to the underside of the 180mm cls and fixed with sleeved fixings to create our sole plate.

Sole plate for timber frame

As we can see from the image above all the construction took place without the need to expose the inside of the building unnecessarily, we also used 180mm timber so we could reach the U values with 180mm celotex.

We then constructed the timber frame with is clad with sterling board and breathable membrane this is for the windows to sit on as we can see by the image below.

Foundation brickwork and timber frame

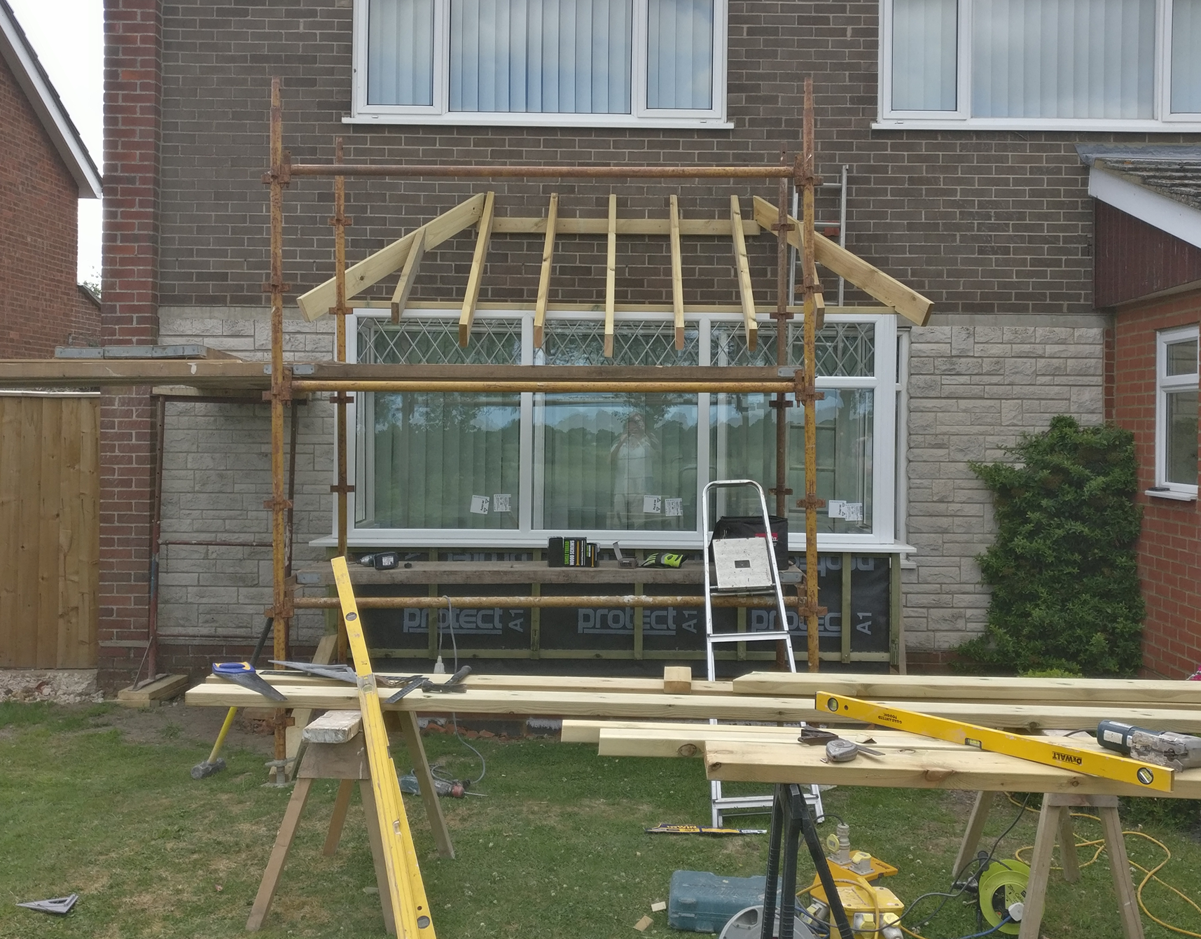
We then had to wait for the windows to be built and fitted, then we could continue with the build by erecting the roof which sits on a plate at the top and a 75 mm cls on the window frame.

Hand cut double hipped roof

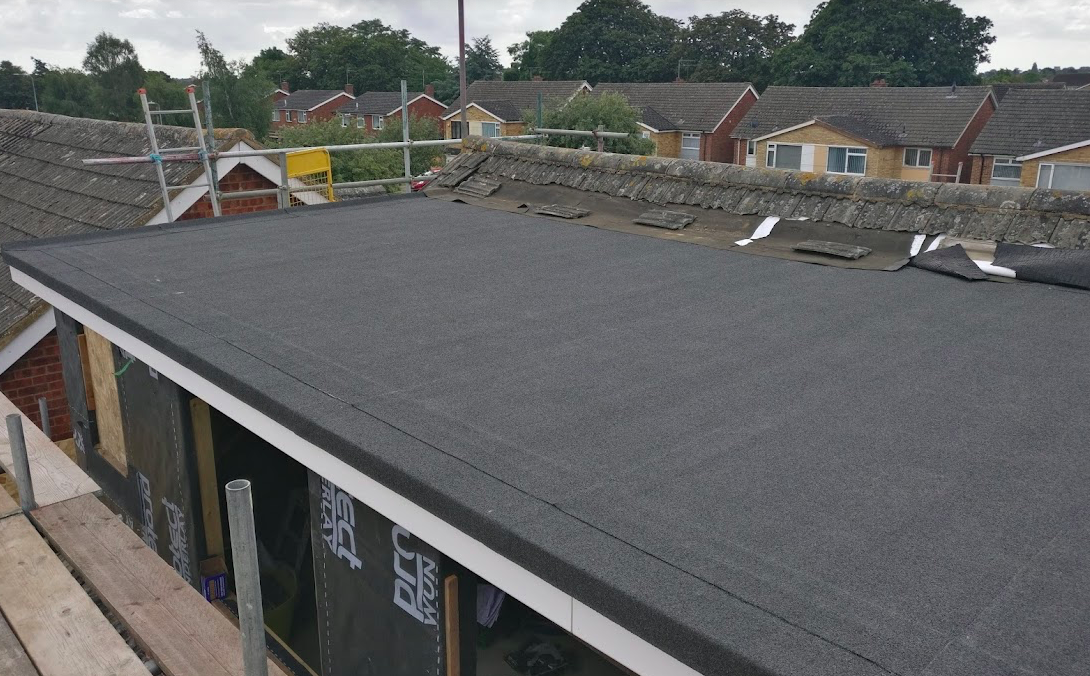
We then have the basic construction of the roof which was then membraned and tiled we also clad the timber frame and the sides  of the extension with hardiplank could sail cloth for the modern look, we also added a cant brick plinth with lead flashing which was not on the drawing as this looks better.

Completed bay with cladding

The existing windows inside were removed and the dwarf wall cut away to make the new bay inside the main front room.

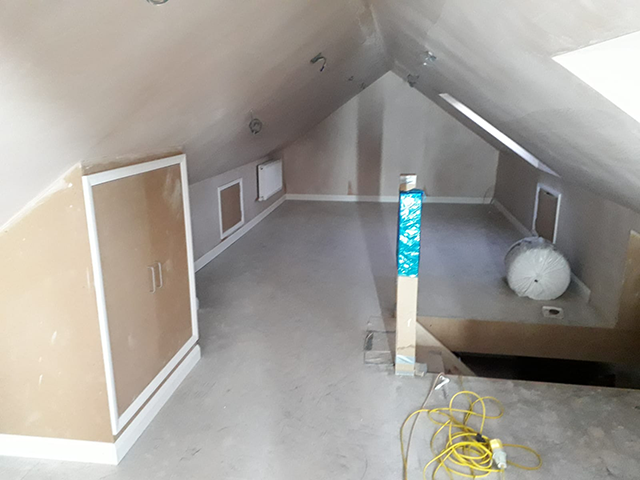
We can now see the finished article apart from some tidying up and below is the inside where we were asked to install a brushed oak hardwood floor.

Finished inside with oak floor

This project came in on time and with budget although, as always we were asked to do lots of extra work which was not on the drawing which we are always happy to do.


Haven’t posted for a while as been extremely busy with a large flat roof dormer on a Victorian detached property in Foxhall Road Ipswich for an extremely pleasant client and there family below we can see the front of property.

We were commissioned to convert the current three bedroom home, into a four bed-roomed three storey loft conversion with stunning views over Ipswich.

We have currently installed the new floor stairs, steel flat roof and clad the cheeks of the dormers with finer cent slate which can be vertically hung.


.Double wind stairs installed


The loft conversion will incompass a large bedroom with good sized en-suite and a custom built walk in wardrobe over 30 square meters of conversion with side and fold rear doors to a stylish glass Juliet balcony we have also installed three velux and reproofed the entire front of the property with the existing welsh slate.


As we can see from the picture the whole roof has been stripped of slate for the rear dormer and from the front to be  membraned as there was no felt

Flat-dormer-construction

Below we can see the main room of the conversion from the bifold door postion

We have also insulated the flat cold roof with 160mm celotex and the exterior walls with 100mm and the internal walls with 70mm.

timber-floor-installed


Complete loft conversion have started another conversion on a one hundred year old property for our new clients the loft will have three velux roof windows in the front and a huge dormer window at the back.

I haven’t posted for a while because  we have had issues with the website and Talk Talk who were handling our business broad band (badly) I would not recommend them in a million years.

Anyway we are still converting lofts in and around the Ipswich Suffolk area along with other projects including Foxhall rd which we have installed new floor, stairs and steels ready for the massive 6 meters dormer clad with slate on the back of the property.

The floors concept of 8×2 C24 timbers sitting on the external walls and the internal load bearing walls to accept the 22mm caber floor.

As we can see from the images the loft is a hand cut roof with no felt so the whole of the roof is being membraned while the scaffold is up.

Loft insulated with multifoil

As the property is over 100 years old and the chimney stack is still in use we needed to provide a 90mm x 90mm post to hold the ridge beam up.

For more on information on New regulations for loft insulation please follow this link.

We will keep updating the site with more info once we break into the roof.


Havent posted for a while but thought I would post up a couple of pictures of recent loft conversions the pictures below are of the I joists being installed I joists are a structural beam which negate the need for steels and can be installed by removing the first four rows of tiles and then being slid in to sit on the existing plate, also not the JES (joist end support) to give the joist riggidity when cut to fit in the eaves.

I-joist
I-joist

We can also see the gluelams before installation, gluelams are a structurally graded beam which come in standard and custom sizes the beauty of gluelams is they do the same job as a steel but are lighter stronger and easier to install and fix to and can also be cut on site to requirements.

glulams before install

With beams of this size and nature there is an issue with getting them up to the second floor so we usually hire in a crane and a banks man to help our team with the lifting as we can see below.

Beam-installation-with-crane

As we can see the creation of a new floor above the existing building has begun  once the beams are in place the next of the work can continue the creation of the stair well with gluelams and hangers connecting the old and existing joists to support them around the stair well and the creation of the ashler walls and the ceiling ties to support the new structure before the old fink trusses can be removed as shown below.


Before-fink-trusses-removedBefore-fink-trusses-removed
Before-fink-trusses-removed


after trusses removed
After trusses removed

So the existing structure is removed the weight is transferred onto the ashler walls which are the small walls in the corner which then transfers the weight onto the new I joists and the gluelams onto the wall plate of the existing building so what next we need light.

dormer under construction
Dormer under construction

As we can see we now need to create natural light by adding dormers by supporting the trusses either side with extra timbers for strength and remove the existing tiles battens and felt carefully before building the pitched roof dormer in this case there will be three so more to come when they are buit ok.


Hi all haven’t posted for a while been busy and wanted to update the site with some more work that’s been going on like this loft conversion in Chelmondiston in Suffolk it was a whopper with a eight meter span and a an overall length of eighteen meters it was quite a challenge.

As we can see the existing roof has been half stripped of before the gable end wall looked seriously dodgy and also had to be taken down and replaced by 6×2 stud work.

The trusses as we can see are huge and the top hats needed to be nailed on before erecting as we can see there are also a lot of loose timbers for the infills, dormers and joisting.

Construction begins
Construction begins

We can now see the trusses erected with spaces for the velux on the back of the property and the gable wall rebuilt in stud work to take the gable ladder and to create the end wall.

Here we can see the roof all covered in the vekux are formed underneath ready for the roofers to fit the velux kits.

Roof covered in
Roof covered in

Here we can see the dormers which have been built on the front of the property with a small velux for the toilet inside.

Chelmo Loft Conversion

There is more than one way to carry out a loft conversion the most obvious way is to remove the roof and use attic trusses this means that you will not need structural calculations from a structural engineer as these will be provided by the truss manufacturer  this can work well and is a roof of roof on situation and achieves the extra space needed.

We also use I beams to carry out loft conversions which allows the roof to stay institute which can save money removing tiles and replacing fascias sofits and making good these beams can potentially be installed within a day with the flanges and other items installed the following day without the need for a permanent scaffold which in some situations can be beneficial.

Some loft conversions need some steels because of the spans that need to be achieved we sometimes flitch beams timber with steel inside are needed to increase the span of lower pitched roofs to allow for snow loads and  heavier loads.

Glulam beams can also be used to span greater widths its also worth mentioning that I beams can span up to eight meters without defection, gluelams with steel flanges can also be used to achieve spans of up to thirteen meters.

If you would like to discuss your project with us please contact us.


Call Now Button